Need to cut circles or curves in a piece of wood? Or do you need to cut metal, plastic or even ceramic tile? The super-versatile jigsaw provides a great way to make complex cuts in virtually any building material.

It’s important to know how to correctly use a jigsaw, or any other type of saw, to ensure both accuracy and safety in your project. We’ll walk you through the steps involved in jigsaw tool use, so you can use yours with confidence to get the exact cuts you need.
What Is a Jigsaw Used For?
Jigsaw uses are many! You can use this versatile tool to make all kinds of cuts or designs in different materials, including the following:
- Softwood
- Hardwood
- Plywood
- Ceramic tile
- Metal
- Plastic laminate
- Acrylic sheets
You can cut intricate patterns in wood for a woodworking project. Or you can use a jigsaw to do remodeling projects around the house, such as making room for a larger bathroom sink. And best of all, jigsaws are affordable, lightweight and very easy to use — even for beginners.
How Do Jigsaws Work?
To help you understand how to use a jigsaw, it helps to know how they work. These tools have a blade that moves up and down quickly to make cuts. They’re designed for cutting circles and other unusual patterns and shapes. But you can use them to cut straight lines, too.
Jigsaws have a base plate, called a shoe. When using this tool, the shoe sits on the material you’re cutting. You can adjust the shoe’s angle for beveled cuts — or leave it at a 90-degree angle for straight cuts.
Some models have an orbital setting in addition to a basic straight setting. This orbital setting causes the blade to tilt forward and up and down while cutting. The orbital action allows the saw to cut more quickly, but it will leave behind a slightly rougher cut. Turning off the orbital action will produce a slower, but smoother cut.
Other useful features you’ll find on certain jigsaws include the following:
- Variable-speed motor for working with different densities
- Blade guides for improved accuracy
- Longer blade stroke for faster cutting
- Work light to illuminate the cut line
- Blower to clear the cut line of sawdust
- On-tool storage for extra blades
Choosing the Right Jigsaw Blade
Which blade should you use? The right one for your project depends on the material you’re cutting and the kinds of cuts you’re making. You’ll want to note the number of teeth per inch (TPI) when selecting a blade.
- Choose a blade with more TPI for smoother cutting
- Choose a blade with fewer TPI for quicker, rougher cutting
- Choose a blade designed for use on the material you’re cutting, such as wood, plastic, metal, or tile
- Choose a narrow blade when cutting tight curves
- Choose a wide blade when making straight cuts
Blades with more TPI make finer cuts that you won’t have to spend a lot of time sanding afterwards. But fewer TPI can help you make cuts faster if needed.
You can use a multipurpose blade for different kinds of wood. But for other materials, use a blade that’s specifically designed for them.
When you have the right blade, use the tool manufacturer’s instructions for properly installing it. Before installing a blade or making any adjustments, unplug the tool or, if it’s a cordless model, remove the battery.
Getting Your Work Area Ready
Using a table or workbench? Put a piece of scrap wood on it, then place your workpiece on top of that. Or use long boards to elevate your workpiece. Using scrap material helps prevent the jigsaw from cutting into your workbench.
Secure the wood or other material you’re working on with clamps. This helps keep it in place, so it won’t slide or shift as you’re cutting.
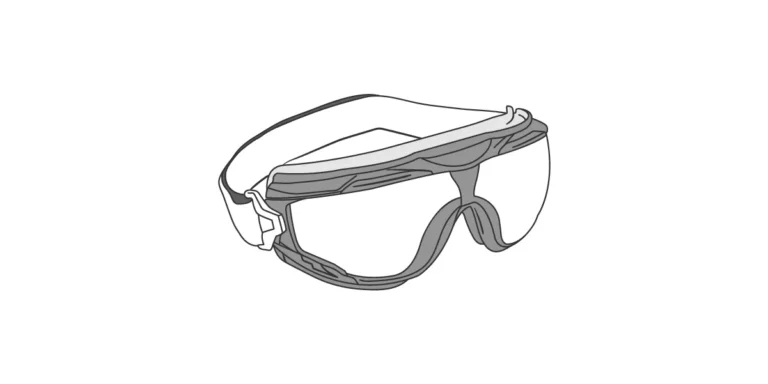
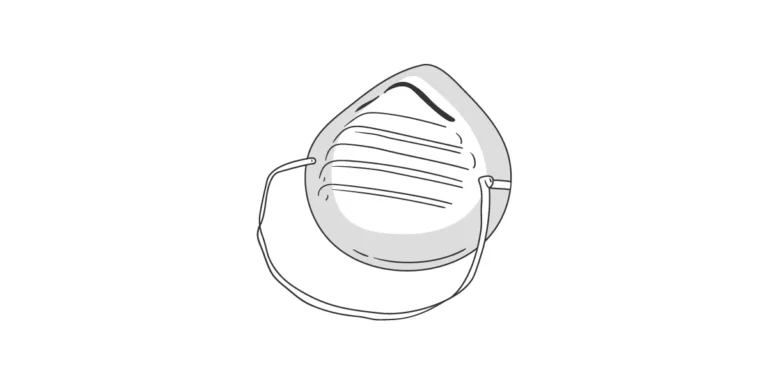
Put on protective equipment, such as eye goggles and a dust mask or dual-cartridge respirator. This helps protect your eyes from flying pieces of debris — and stops you from inhaling sawdust or other cut material.
Working with a material that can scratch or chip easily? Put masking tape on the bottom of the jigsaw’s shoe. This helps prevent it from damaging your workpiece.
Marking Material Surfaces
You’ll need to know where to make your cuts in your workpiece. Use a sharp pencil to mark the cut lines. Use a ruler, framing square, or similar tool to mark straight square and angled lines.
Turning On the Jigsaw
Once the blade is securely installed and your work area is all set, it’s time to turn on your jigsaw. Depending on the model you’re using, start by either plugging in the saw’s power cord, or sliding in its battery.
Place the shoe on the edge of your workpiece near the marking. Make sure the blade isn’t touching the workpiece. Squeeze the jigsaw’s trigger — but don’t start moving it yet. It needs to get up to full speed first.
Using a Jigsaw to Make Cuts
When cutting with this tool, keep it just outside the cut line — also known as the waste side. This leaves you with some room for error. If you cut right on the line, you risk cutting off too much material — and you can’t add wood back once it’s gone!
Staying on the waste side means you might have some sanding to do afterwards. But you don’t have to worry about ending up with a cut or shape that’s smaller than you want.
Follow these steps to cut accurately with your jigsaw:
- Keep the jigsaw shoe on your workpiece and slowly move the saw to the cut line
- Keep the saw on the waste side or just outside of the line
- Continue advancing the saw with even, steady pressure. Don’t push to aggressively
- After completing the cut, release the trigger, set the tool aside
- When possible, place the workpiece with its good side facing down. That way, any splintering will occur on the back side
Trying to cut perfectly straight lines? Clamp a straight-edged fence to your workpiece, then guide the saw along the fence.
Creating Interior Cutouts With a Jigsaw
Cutting out a circle or other shape out of the center of your workpiece? Then you’ll need to execute an interior cutout. Here’s how:
- Drill a starter hole through the interior (waste) area of the circle you’re cutting out. Be sure the hole is larger than the width of the jigsaw blade you’re using
- Place the jigsaw blade into the hole
- Start the saw, then begin cutting on the waste side of the circular cut line
Note that drilling a starter hole is ideal when you’re making cutouts in more delicate material, such as softer wood. For rough work, you can make a plunge cut instead. This involves the following:
- Tilt the jigsaw up on the front edge of the shoe, so that blade is clear of the workpiece.
- Turn the saw on and wait for it to reach full speed
- Then very carefully lower the blade down and into the workpiece until it pierces through to create a plunge cut
Using Relief Cuts
Worried about handling tight curves or areas? Make relief cuts in your workpiece. Instead of trying to maneuver your saw along markings in tight areas — potentially resulting in binding — make straight cuts to the edge of the material. This “breaks up” tight corners and curves, allowing you to more easily cut along your markings.

Using Jigsaws for Other Materials
These tools are mainly made for cutting wood. But you can use them for other materials. When doing so, always choose a blade made for cutting through that specific material. This helps ensure both safety and accuracy.
Note these tips when using a jigsaw for cutting metal:
- Secure sheet metal between two plywood pieces with clamps — this helps prevent you from shredding it
- Cut through metal at low speeds
- Consider using a jigsaw with an orbital setting, variable speeds, more power, and a longer blade stroke
For cutting ceramic tile with a jigsaw:
- Lubricate the jigsaw with cutting oil when cutting thick pieces of tile
- Lubricate your saw with water when cutting thinner tile pieces
- Put masking tape on the shoe to protect tile surfaces from damage
- Make relief cuts as needed
- Move the jigsaw slowly through the tile to lower the risk of breakage
Tips for Keeping Your Jigsaw in Good Condition
Maintaining this tool helps you make accurate cuts as safely as possible. This involves the following:
- After each use, wipe down your jigsaw with a cloth to remove debris
- Lubricate the blade roller guide — you don’t need to do this with every use, but aim to do this every few times you use your jigsaw
- Don’t use bent blades — always choose straight ones to avoid damage
- Follow the manufacturer’s guidelines on cleaning and caring for your jigsaw
FAQs on Jigsaw Tool Use
Is it easy to use a jigsaw?
Yes! These power tools are fairly simple and safe to operate. You just need to put in the right blade, plug in the jigsaw or insert a battery, squeeze the trigger, and begin cutting. You can use this tool for DIY projects around the house — or in professional settings.
How to cut accurately with a jigsaw?
Worried that you might end up with cuts that aren’t precise? For straight lines, use a fence. The fence helps ensure that the blade moves along a straight path instead of drifting away or straying from your cut line.
How to cut curves?
You can cut all kinds of curves, circles, and other shapes with a jigsaw — making it a versatile tool! But how do you make these cuts? Choose a fine-toothed blade for a cleaner cut. Make sure your workpiece is secure, then slowly move the jigsaw along the waste side of your markings.
You can always practice first! Try cutting curves and other shapes in pieces of scrap wood before cutting your workpiece.
How to use a jigsaw without a table?
Don’t have a table handy for cutting your material? You can use other surfaces while working with your jigsaw, such as:
- Workbench
- Sawhorses with a large, flat piece of wood to lay your workpiece on
- Any other flat, stable surface
What are the jigsaw safety tips?
Use these tips to use your jigsaw safely and reduce the risk of injuries and accidents:
- Leave it unplugged or remove its battery when installing a blade or adjusting the shoe
- Wear protective gear to shield your eyes and face from debris
- Apply steady, even pressure when cutting — don’t forcefully push the jigsaw through the material
- Keep your hands away from the jigsaw blade and especially away from the underside of the workpiece
You now know how to use a jigsaw to cut wood or other materials. With this tool in hand, you can work on your next hobby, DIY, or remodeling project with ease and confidence. You’ll get the exact cuts and curves you want for a beautifully finished project!


