Are you considering hanging some shelves on your walls? Or perhaps you’d like to take on a bigger project, such as building cabinets or a piece of furniture. Regardless of what project you’re tackling, knowing how to properly use a drill is an essential skill for every DIY homeowner.
Power drills provide a quick, easy way to bore holes in virtually any building material, including wood, plywood, metal, drywall and plastic. Drill are also indispensable for driving in–and removing–screws. But how can you make sure you’re using your drill correctly?
Here, we’ll walk you through proper drilling techniques, including some tips for beginners, ranging from selecting drill bits to ensuring your safety.
Step-by-Step Instructions
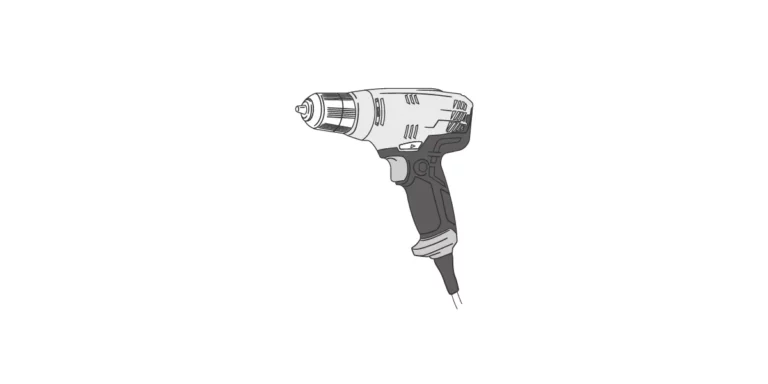
There are two main types of power drills: corded electric drills that you plug into an electrical outlet, and cordless drills that are powered by a rechargeable battery. Note that cordless drills are often referred to as drill/drivers because they excel at both drilling holes and driving screws.
Here’s a list of important drill features and parts:
- Chuck: Nosepiece of the tool that has adjustable jaws for securely gripping the drill bit
- Slip clutch: Found on cordless drills, this feature allows you to adjust the torque (power) of the drill’s motor
- Forward/reverse switch: Controls whether the chuck spins in the forward or reverse direction
- Motor: Provides the power to drive the chuck
- Power source: Rechargeable battery for cordless drills, or plug-in power cord for corded drills
- Variable-speed trigger: Allows you to control the drill’s speed with finger pressure on the trigger
- Lock-on button: Lets you lock on the drill motor, so you don’t have to continuously squeeze the trigger
Before getting started:
- Use a sharp pencil to mark the exact area or areas you want to drill for better accuracy — and to prevent mistakes
- Tie hair back and roll up sleeves to avoid getting tangled in the drill bit or chuck
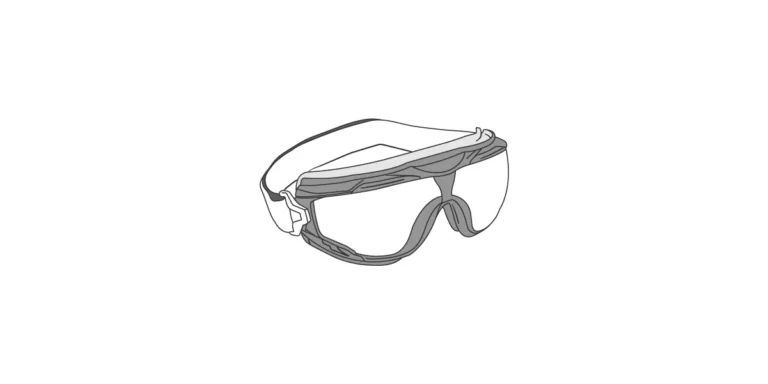
- Wear safety goggles to protect your eyes from flying debris while using the drill
- Read the owner’s manual that came with your drill and follow all safety precautions
Follow these steps for drilling holes:
- First, unplug the drill or remove its battery before inserting the drill bit.
- Loosen (open) the chuck and insert the drill bit
- Tighten the chuck, making sure its jaws are securely holding the bit in place
- Plug in a corded drill or insert a fully charged battery into a cordless drill
- If using a cordless drill, adjust the slip clutch to the “drill only” setting, indicated by a drill bit icon
- Be sure the forward/reverse switch is set to the forward rotation position.
- Place the tip of the drill bit on the mark indicating the center of the hole.
- If drilling into an extremely hard surface, prevent the bit from skipping by using an awl or punch to make a divot in the hole center.
- Hold the drill so that the bit is perpendicular to the surface to ensure you’ll drill a straight hole
- Gently squeeze the trigger to allow the tip of the drill bit to start boring into the surface
- Increase the drill speed and apply moderate pressure to drill the hole
- Keep the drilling running as you extract the bit from the hole; if you feel much resistance, switch to reverse and pull out

Follow these steps for power-driving screws:
- Start by drilling a pilot hole using a bit that’s slightly smaller in diameter than the screw
- Loosen the chuck, insert the drill bit, and tighten the chuck
- Hold the drill so that the bit is perpendicular to the surface
- Squeeze the trigger and drill straight into the surface
- Continue to squeeze the trigger as you gently ease the dill bit out of the hole
- Open the chuck, remove the drill bit and insert the proper screwdriver bit
- Choose a low torque setting, if using a cordless drill
- Hold the screw onto the tip of the screwdriver bit
- Place the screw tip in the pilot hole
- Hold the drill perpendicular to the surface
- Squeeze the trigger while applying moderate pressure to drive in the screw
- Stop drilling when the screw is flush with the surface
Drilling Tips from the Pros
You now know the basics of using a drill to bore holes and drive screws. But to further increase your skills, here’s some advice from the professionals.
Choose the Right Drill Bit
Here’s where you can end up with holes that aren’t the right size. How do you know which drill bit to use?
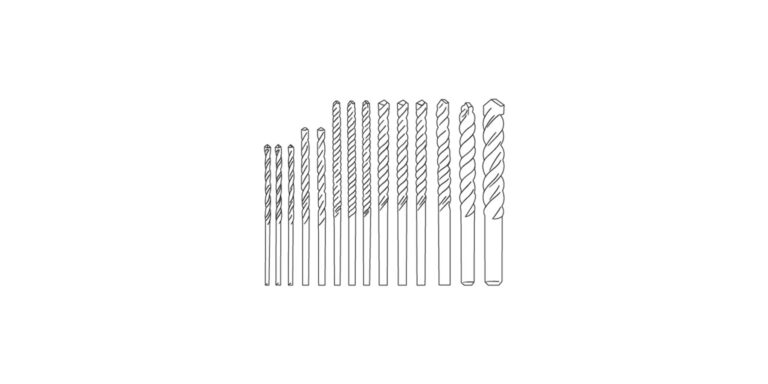
- If drilling holes for nails or making pilot holes, choose a high-speed twist drill bit
- Note that twist drill bits can use to drill into wood and metal
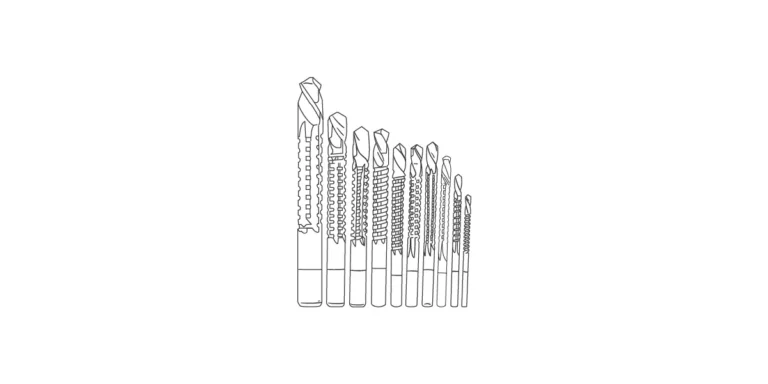
Other drill bits to consider may include:
- Spade bits for boring holes in wood, ranging in diameter from about 1/4 to 1 1/2 inches
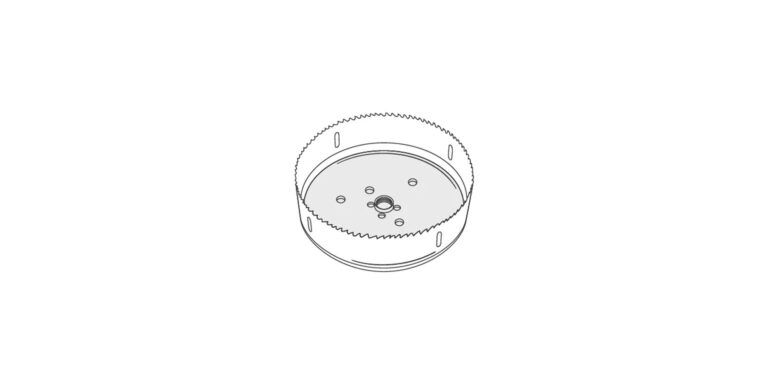
- Hole saws for bigger holes in wood or metal ranging in diameter from about 1 to 4 inches
- Use a carbide-tipped masonry drill bit to bore into concrete, stone, ceramic tile and other masonry materials
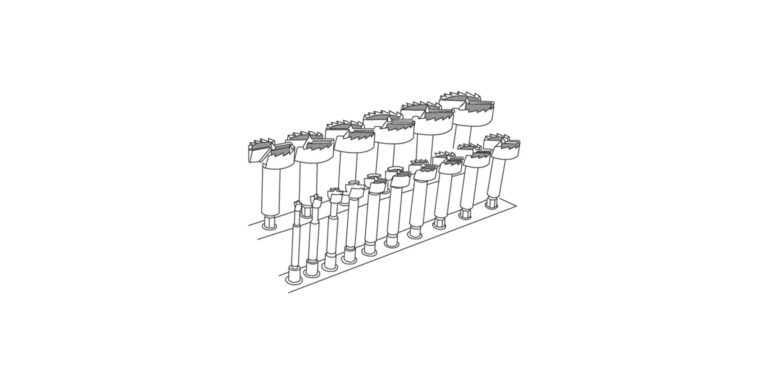
- Forstner bits, used to bore large, flat-bottomed holes up to about 2 inches. Note that Forstner bits are best used in a drill press, not a handheld portable drill
Mark Your Spot Accurately
Pinpointing the exact spot you want to drill helps you avoid making mistakes. Without these markings, you might accidentally drill in the wrong spot — resulting in unwanted holes in walls or other surfaces. Use a sharp pencil to mark the exact spots for drilling.
Use a Drill Press
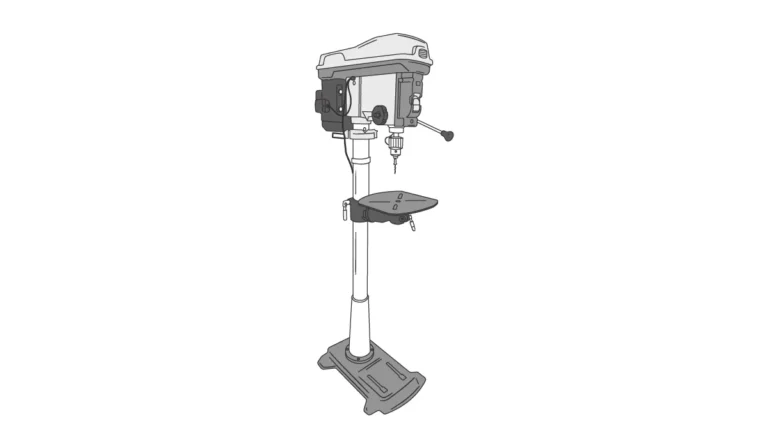
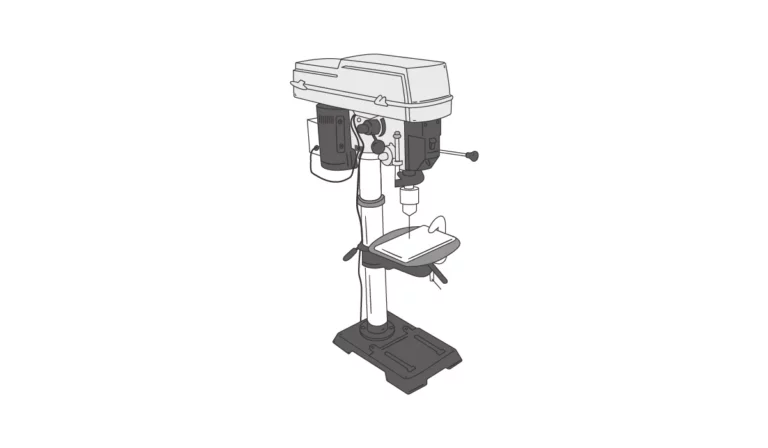
For the most precise way to drill holes, use a drill press. This stationary hole-drilling tool comes in a variety of sizes and capacities, and in two basic styles: large floor-standing machines, and compact benchtop models. Drill presses are a great option for workshops and when you need to drill many holes very precisely. Here’s how to use one:
- Open the chuck and insert the appropriate drill bit for your project; tighten the chuck using the chuck key
- Set a piece of scrap wood on the drill press table, then place the workpiece on top and clamp it in place
- Adjust the depth-stop mechanism to match the desired depth of the hole you’d like to drill
- Adjust the workpiece to align the hole location with the tip of the drill bit
- Turn on the drill press and slowly rotate the handle to lower the bit into the workpiece
- Increase pressure if needed to drill through the workpiece
- Back the bit out of the hole from time to time to clear out the wood dust and shavings
- After completing the hole, turn off the drill press
Employ a Drill Guide
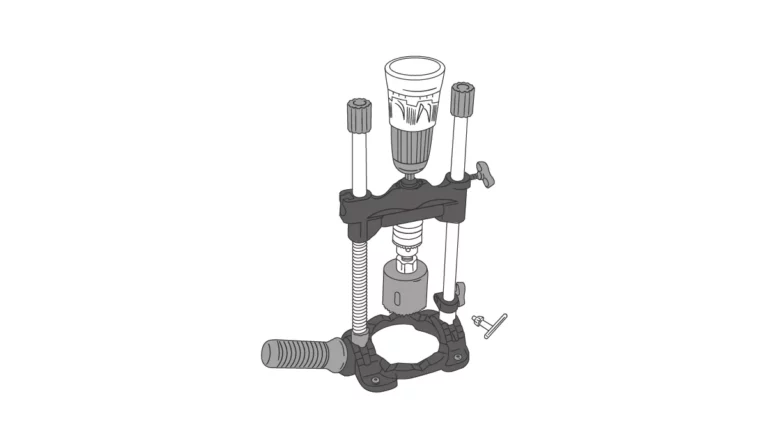
To increase the accuracy of your portable drill, use a drill guide. This handy accessory mounts to the drill, essentially converting it into a mini drill press. It allows you to consistently drill holes–either perpendicular or at angles–with speed and precision. A drill guide is also handy for working on surfaces that are too large for a drill press.
Clamp Your Workpiece
When drilling into small- to medium-sized pieces, make sure it stays put by securely clamping it in place. This will not only increase your accuracy, it’ll protect you from being injured by a spinning, flying piece of material.
Check Your Drill-Point Angles
The tips of twist drill bits are ground to different drill point angles. What drill point angle are you using? Common ones for most projects are 118-degree and 135-degree angles. There’s also 90-degree angles for pilot holes.
A 118-degree drill point angle is generally used for drilling into plastic, wood, or other softer kinds of materials. A 135-degree drill point angle is typical for drilling metal and other hard materials.
Start with a Pilot Hole
Why is it necessary to bore a pilot hole before driving in a screws? Here’s why: Without drilling these small-diameter holes first, you run the risk of splitting the board. This is especially important when driving a screw close to the end or edge of a board.
Plus, pilot holes give screws an easy-starting entry point, so they go in much quicker and easier.
Take Your Time
Don’t rush when drilling! Going too fast or applying too much pressure to get it done quickly can lead to all kinds of errors, including painful injuries. Plus, you can damage the workpiece or break the drill bit.
FAQ
Have more questions about how to use a drill? Below, we’ll go over a few of the most commonly asked questions about drilling.
How to Attach a Drill Bit?
Knowing how to use a drill bit is part of using a drill for any kind of project or task. To insert this piece, use these steps:
- Turn the chuck counterclockwise to loosen (open) its jaws
- Place the drill bit in the jaws
- Turn the chuck clockwise to tighten it
Using a drill that has a keyed chuck? Twist open the chuck, insert the bit, and twist the chuck closed by hand. Then, use the chuck key to tighten the chuck and securely lock down the bit.

How to Use a Drill for Screws Into a Wall?
Using a standard screwdriver can be time-consuming and tedious. But a power drill can help you get screws inserted easily and quickly. This is a great option if you need to insert multiple screws into a wall for hanging cabinets, TV stands, framed mirrors or artwork, or other objects.
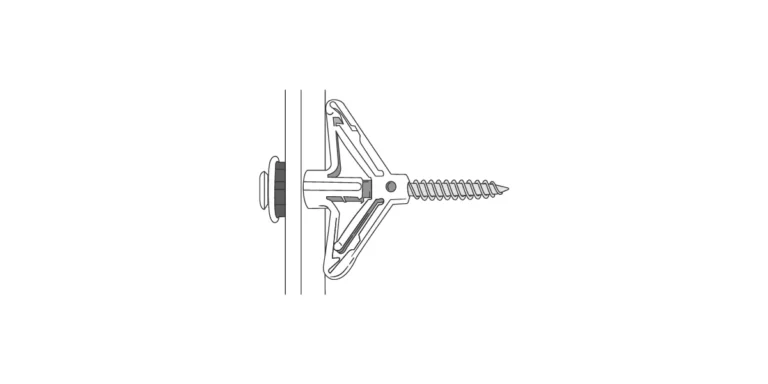
Mark the hole location, then drill a pilot hole into the wall. If you hit a wood wall stud, use the drill to drive in a screw. If the hole falls into the void between two studs, drill slightly larger hole and insert a hollow-wall anchor. Then, drive the screw into the anchor.
Our guide on how to use a drill can come in handy for small or larger projects in and around the house and workshop. Just make sure to consult manufacturer recommendations for the material you’re drilling into. And keep your drill perfectly straight for the ultimate precision!

